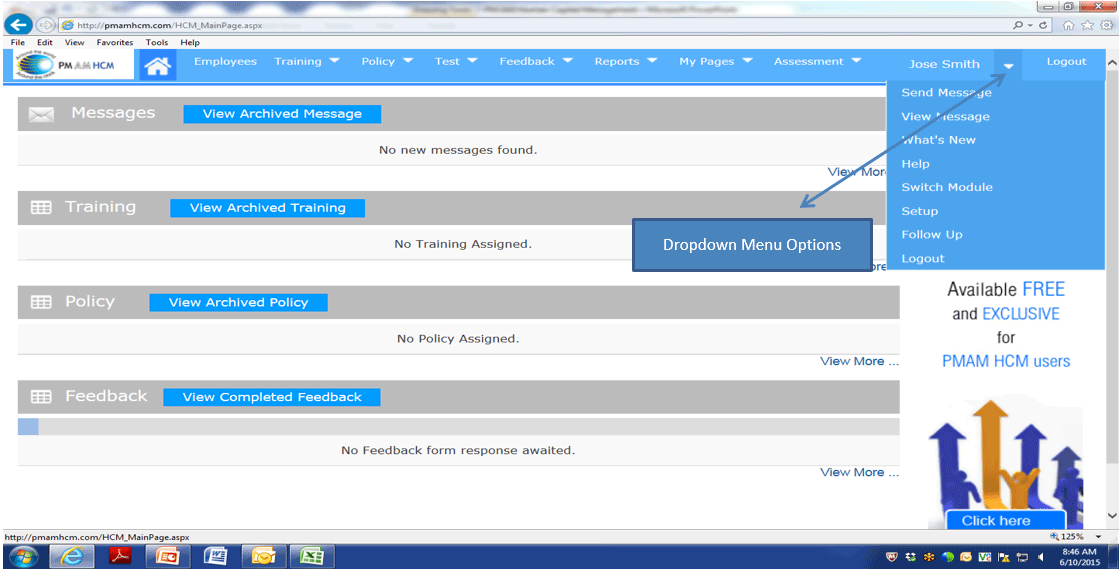
The following setup options can be located by selecting the dropdown arrow in the top left of the PMAM login screen, next to your name
Drop down Menu Options
You will find the drop down menu in the right hand corner of your screen, next to your name
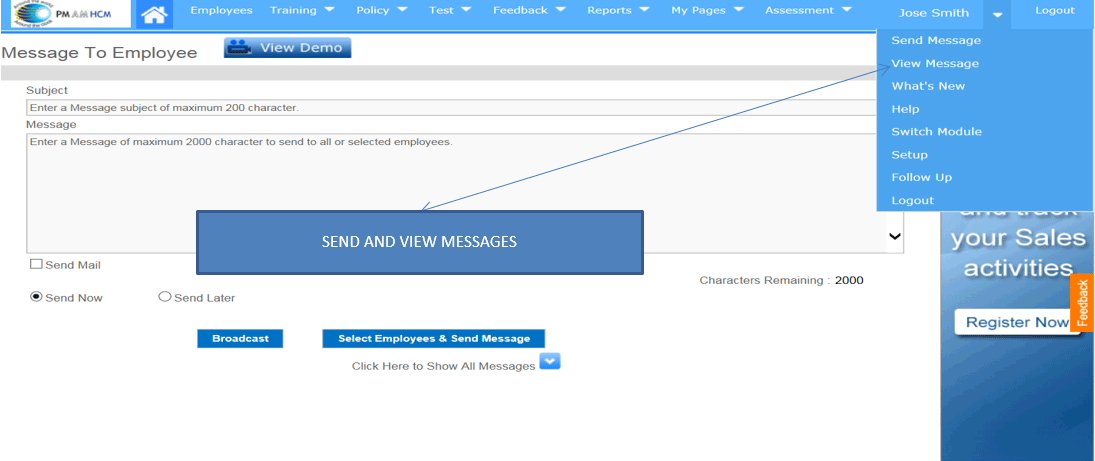
Send and View Message
NOTE: All employees can “VIEW MESSAGES” BUT AGAIN, ONLY ADMINISTRATORS CAN SEND A MESSAGE WITHIN THE SYSTEM.
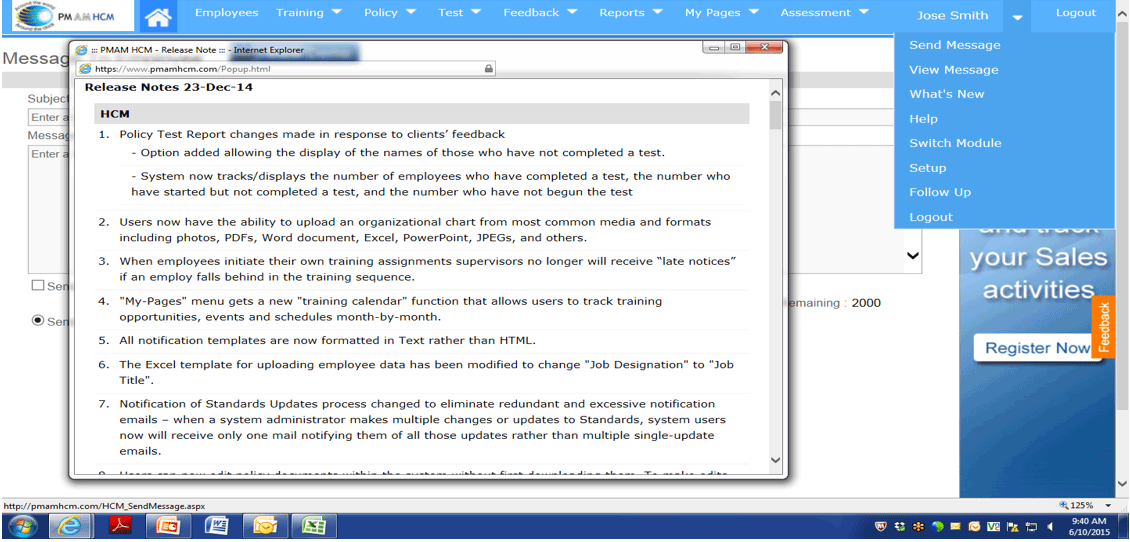
What’s New
The “WHAT’S NEW” FEATURE CAN BE REVISTED FROM TIME TO TIME AND WILL DISPLAY UPDATES AND UPGRADES TO THE SYSTEM
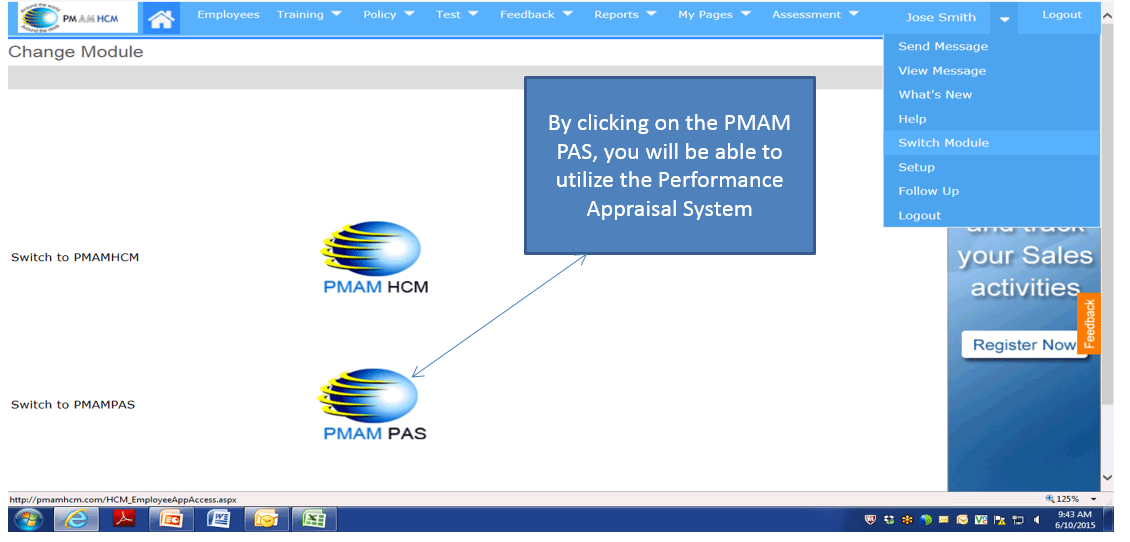
Switch Module
When Selected the “Switch Module’ feature will allow you to navigate from the HCM ,(Human Capital Management Platform), to the PAS System, Performance Appraisal System.
WE WILL DETAIL THE PERFORMANCE APPRAISAL SYSTEM FURHTER ON IN THIS GUIDE
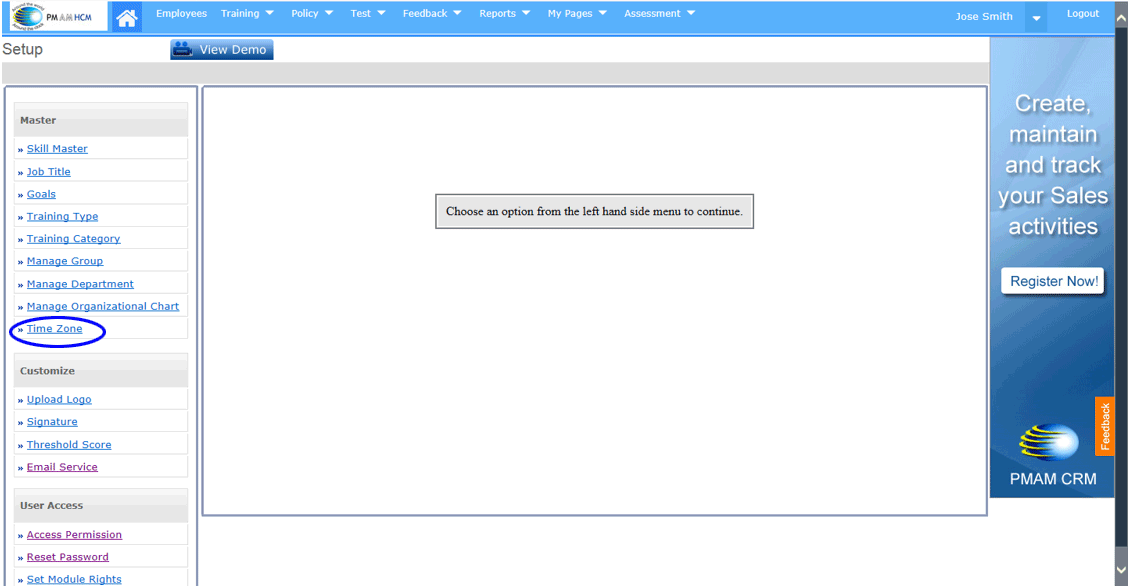
Setup Functionality
The Setup Option will is very important in your initial setup of the system. There are a number of options to the left side on screen once you select Setup. We will detail those that are most important to understand and set in advance of a group wide launch.

Time Zone
Setup STEP 1
Because this system is a system of historic record, it is important to click on and designate the appropriate TIIME ZONE. All tasks and entries will include a date and time stamp. This assures accuracy in reporting
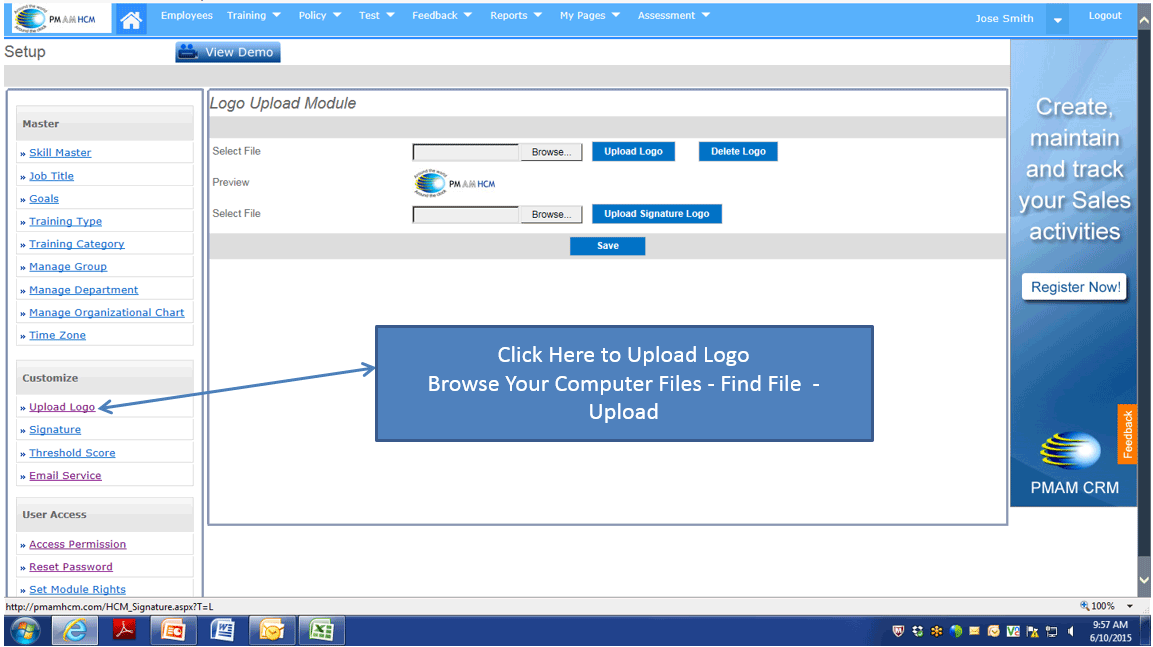
Upload Your Logo
Setup STEP 2
If you choose to upload your logo in the system, it will replace the PMAM logo in the top left of your screen.
Note – Sizing your uploaded logo may be necessary in order to avoid taking up to much space. If you require assistance, please contact your PMAM representative and our IT team will resize for you.
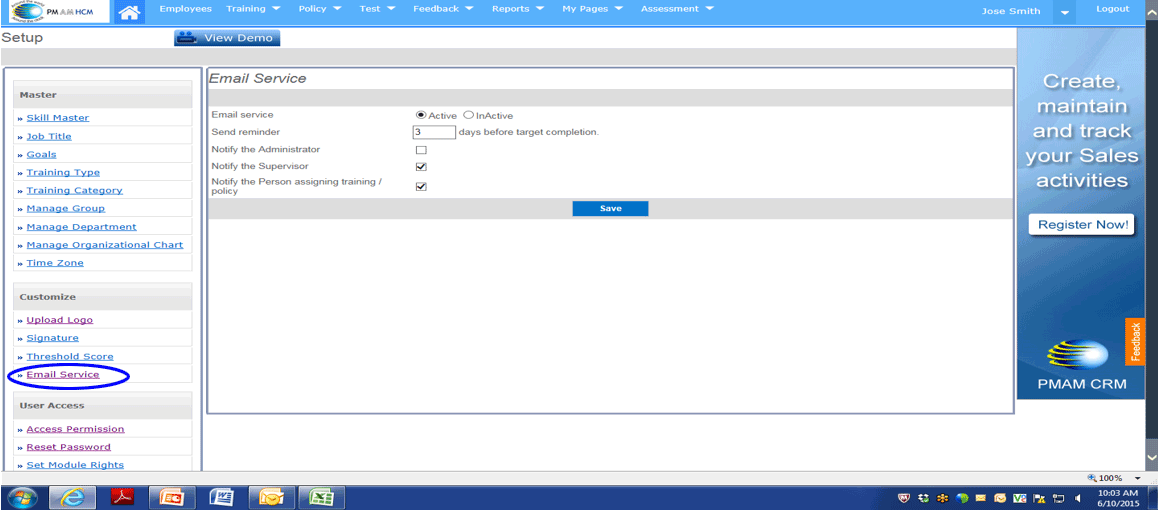
Email Service
SETUP STEP 3
EMAIL SERVICE SETTINGS SHOULD ALWAYS REMAIN IN “ACTIVE” MODE.
Send reminder, in the Email Service Menu above, automatically sends
an email to team members notifying of pending due date based on the number
of “DAYS” you choose.
“IMPORTANT”
We recommend that you place a checkmark next to “NOTIFY THE SUPERVISOR” AND “NOTIFY THE PERSON ASSIGNING THE TRAINING/POLICY”. This selection will assure that the supervisor and administrator in charge of assigning receive notification of tasks assigned and also late notices for those that have not completed assignments on time.
Click Here to Open Email Service Settings
NOTE: EMAIL SERVICE SETTING “MUST” ALWAYS BE “ACTIVE”
SEND REMINDER OPTION IS PRESET FOR 3 DAY NOTIFICATION – YOU CAN CHANGE OR KEEP THE SAME
AS A RULE MOST TEAMS ONLY SELECT THE “NOTIFY THE SUPERVISOR “ AND NOTIFY THE PERSON ASSIGNING TRAINING/POLICY AND THEN “SAVE”
Access Permissions
SETUP STEP 4
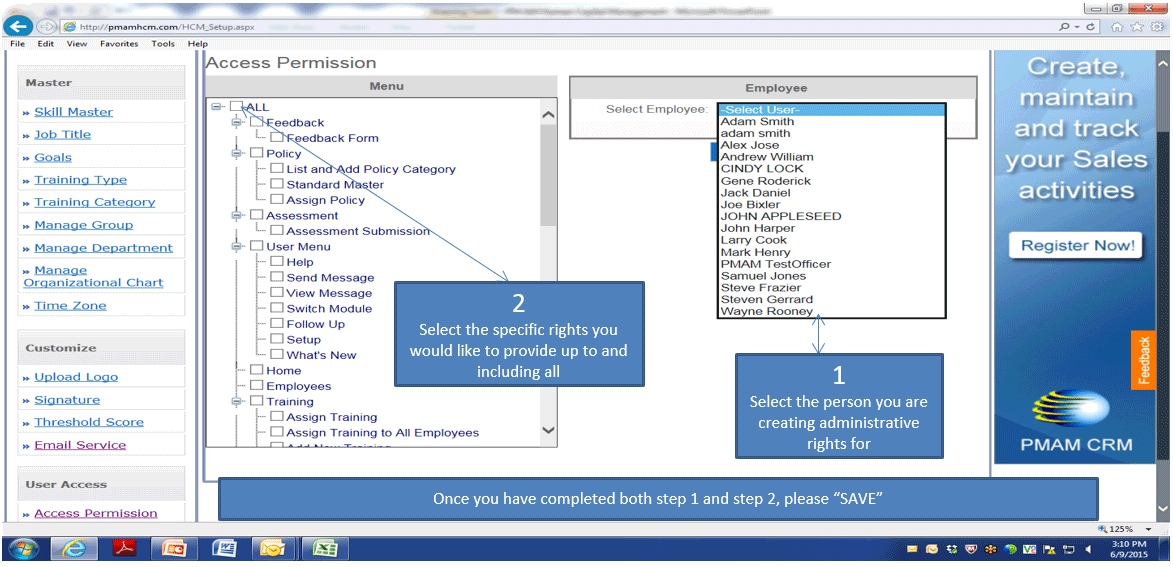
Access Permission will allow you to select people of your choice and provide additional administrative rights. Those who will not have administrative rights will be designated STANDARD USERS AND WILL be provided default settings.
If you need to add others as administrators which you most likely will, you need to enter their names and aligned information into the employee section first and then return here to the Setup Screen and provide additional administrative rights of your choosing
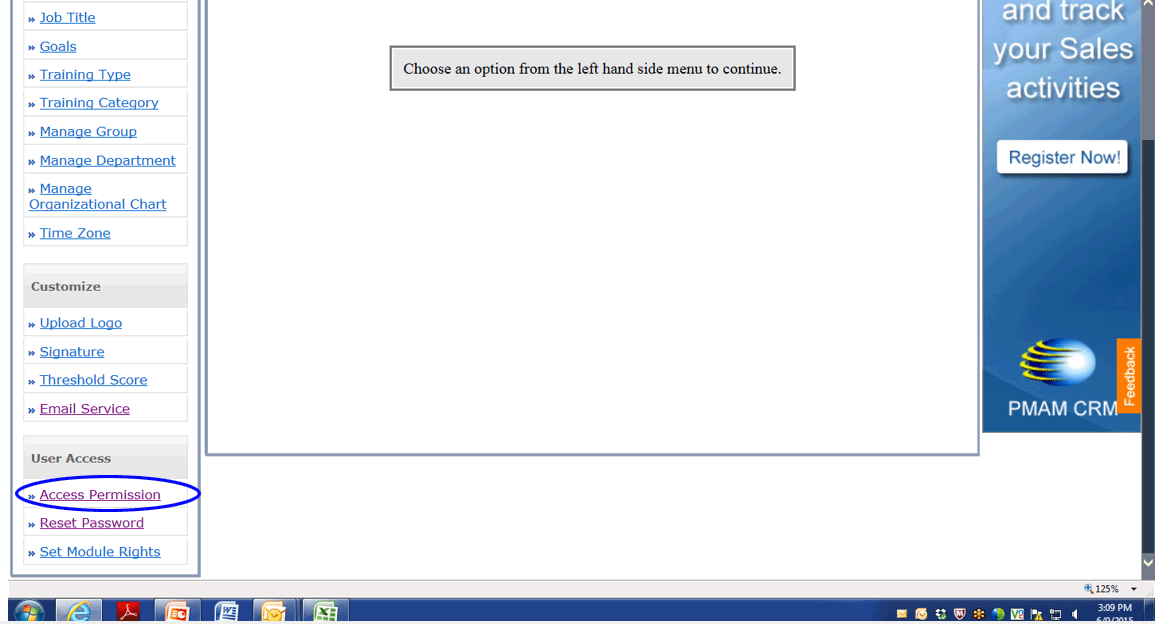
The first step in accessing permissions is to CLICK ON “ACCESS PERMISSIONS”
Select Requirements for Permission
Step-1
Select the person you are creating administrative rights for
Step-2
Select the specific rights you would like to provide up to and including all
THIS OPTION, “ACCESS PERMISSIONS” WILL ALLOW YOU TO SELECT INDIVIDUALS ON YOUR TEAM AND PROVIDE THEM WITH ADMINISTRATIVE RIGHTS. THESE RIGHTS COULD BE “ALL” RIGHTS OR MORE SPECIFIC AND LIMITED RIGHTS.
NOTE: STANDARD USERS WILL BE PROVIDED DEFAULT SETTINGS AUTOMATICALLY AND WILL NOT REQUIRE YOU TO CHANGE PERMISSIONS
Once you have completed both step 1 and step 2, please “SAVE”
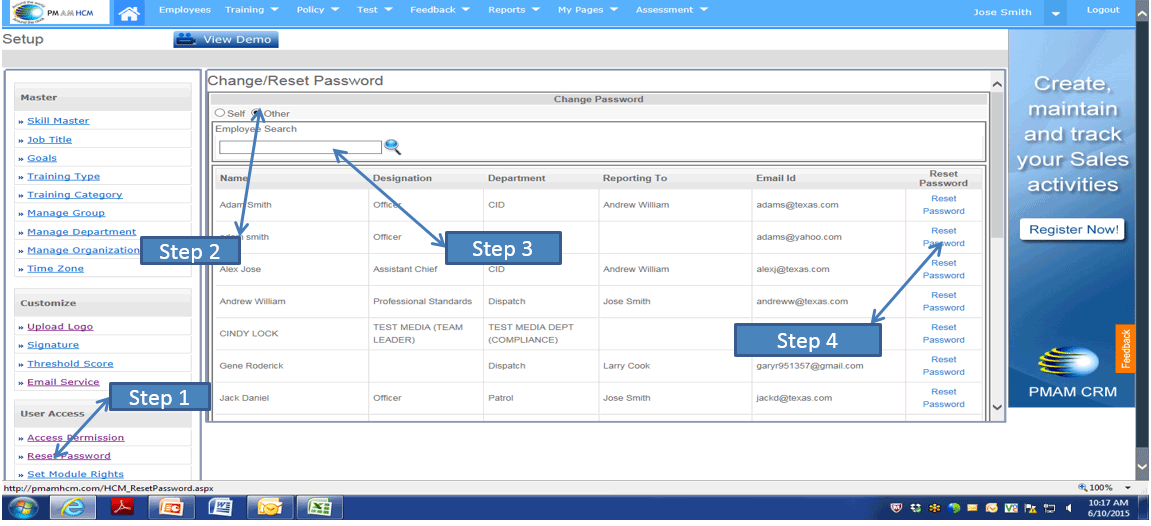
Resetting Passwords
Step 1
Click on Reset Password
Step 2
Select “OTHER”
Step 3
Find the person requiring password reset or search their name
Step 4
Once you have located the right individual, Click on “RESET PASSWORD” which is found to the far right of their name. An automated email will be immediately sent to the individual
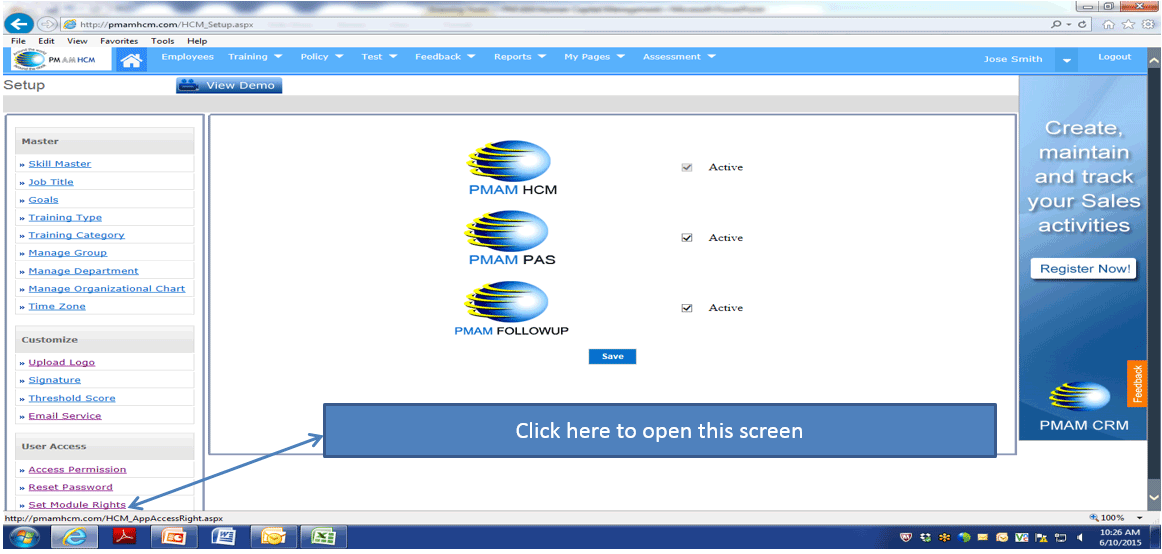
Set Module Rights
This step will only be required once.
Make sure that all 3 boxes above have a checkmark and then click on “SAVE”
You will now have access to all systems that are included the PMAM. Human Capital Management, Performance Appraisal System, and Follow UP